New Series of Abstracts
 |
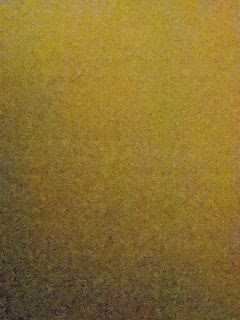
| Cutting Board: Close Up 8x8 acrylic on cradled panel |
Rather then printing out the photo, I decided to try to translate it into paint.
 |
| original photo of the paper napkin |
 |
| after cropping and editing |
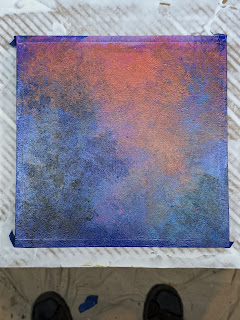 |
| starting to lay in the big shapes |
 |
| adding lighter colors and going back and forth with lights and darks |
 |
| Paper Napkin: Close Up 8 x 8 on cradled panel |
The challenge was, and still is, to find a way to turn this almost airbrush/ spray paint effect of the soft blending of multiple colors into a painting on the panel without using spray paint.
I have done several paintings with spray cans and could probably get the effect I'm after doing it that way (I still might try that) but I like the more direct approach of applying paint with tools by hand.
 |
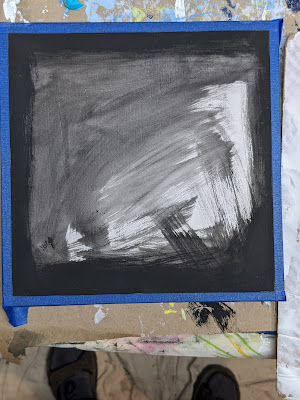
| The original photo of the blue tape after some editing. |
 |
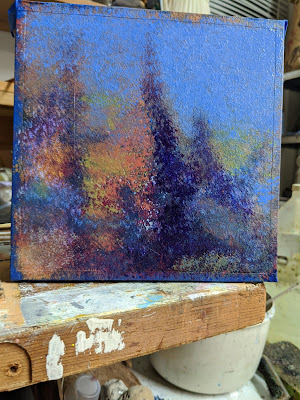
| Blue Tape: Close Up 8 x 8 Acrylic on cradled panel |
There is something mesmerizing about the repeated dabbing, stabbing, bouncing, drumming technique of applying the paint. I've used that technique many times before probably in almost every painting. But in this series that's the predominant technique.
The tools I used in these three paintings were toothbrush, scrub brush, chip brush, paper towels and paper napkins.
I started by laying down large shapes of color but as the paintings progressed interesting shapes and patterns arrived and evolved. As usual, the painting took on a life of its own and the reference became less important.
I like the outcome of the process and the challenge of trying to recreate the veiled effect in the altered photos. However, getting there is not as much fun as working with the pallet knife. In that case I like the outcome and I like the process of pushing the paint around with the knife.
In this case I'm still working on the technique to find a process that I enjoy. Spattering with the bristle brushes can get a much finer dot pattern and create a more veiled effect than dabbing with the brush but it's a tedious, time consuming process. Dabbing and rolling with a paper towel or napkin to get almost a roller effect is more fun than spattering. However, spattering with the bristle brushes can get a much finer dot pattern and create a more veiled effect but it's a tedious time consuming process.
I think I will continue this series. With more practice, I will be able to get a blended effect of color similar to an impressionist technique where the individual spots of colors mix in the eye of the beholder .That's the idea anyway. See more paintings at Jewelry Art Studio
